Boaty: Building the app
Note: this is part 3 of a series of posts, aimed at building a React Native app from the ground up. If you haven’t already done so, it’s worth starting from the beginning of the series.
In part 2, we set up our development environment with a selection of tools to make React Native development easier. We can now focus on building the app itself.
Note: as mentioned in part one, the goal of this series is to document some of the additional concerns surrounding the building and deployment of a React Native app, such as app scaffolding, app icon/launch screen creation, and deployment to the App Store. It isn’t intended as a walkthough of writing React or React Native code - this is assumed knowledge. If you need to brush up on this, I’d recommend checking out the official tutorial or the notes from my own React Native training course.
Architecture
React Native is a cross-platform framework for building native iOS and Android apps from a single codebase. Most, if not all of your code can be used by both platforms.
A React Native app is generally split into two sections:
- The view layer, which is written using TSX. This is compiled into native UI components for the two platforms, meaning that the user interacts with 100% native UI elements. This is in direct contrast to a ‘hybrid’ app, which renders HTML to a full-screen WebView (this approach is taken by another popular framework, Ionic).
- The ‘business logic’ layer, which takes care of fetching and manipulating data for presentation by the view layer. This is written in and remains as JavaScript, interpreted by the device’s JavaScript engine (JavascriptCore on iOS, v8 on Android).
Note: this is a bit of a simplification of the actual React Native architecture - view layer code isn’t actually compiled to native UI as such, it communicates with the native UI components via a JS-native bridge. However, to keep things simple, you can consider TSX to equal native UI code, and anything else to remain as interpreted JavaScript code.
Wireframe
Prior to building an app, it’s often useful to produce a set of wireframes. These are low-fidelity representations of the app, and offer a visual ‘at a glance’ guide to how the app is going to operate.
A good tool for producing simple wireframes is at wireframe.cc. Here’s one I made earlier for our Boaty app:
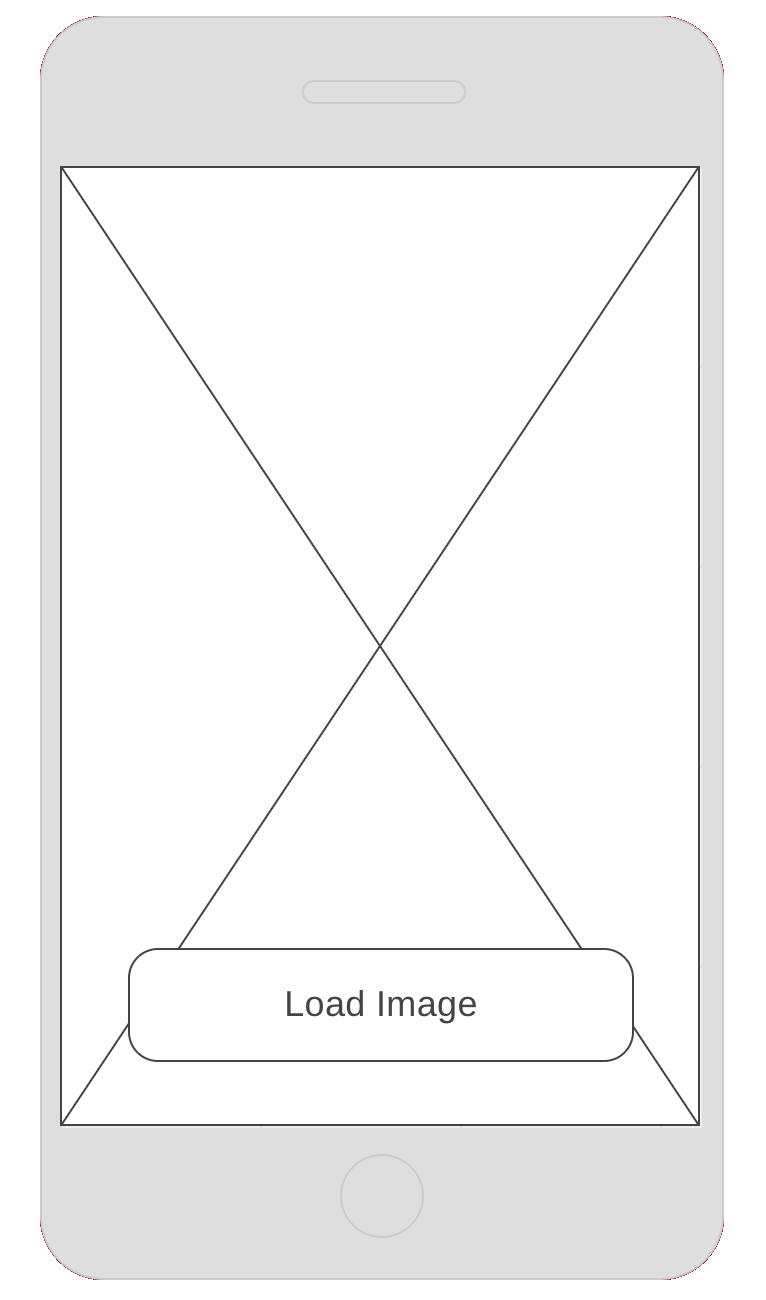 Boaty app wireframe. The crossed lines will be replaced with a real image when the app is built.
Codebase
We’re ready to start writing some code!
Orientation
As shown in the wireframe, our app is designed to work in portrait mode only. We can lock the app to ensure it cannot be rotated from portrait mode by making some modifications to files in the ios and android folders.
iOS
Open the file /ios/Boaty/Info.plist and remove the following lines:
<string>UIInterfaceOrientationLandscapeLeft</string>
<string>UIInterfaceOrientationLandscapeRight</string>
Android
Open the file android/app/src/main/AndroidManifest.xml. In the MainActivity section, underneath the android:configChanges entry, add the following attribute:
android:screenOrientation="portrait"Components
React apps are built using a component-based architecture. In essence, every UI element that is visible on the page is built as a component.
There are two types of component: presentation (aka dumb) and container (aka smart). Read more about this here.
Presentation
Our app will consist of a single presentation component. This type of component is concerned with presenting the information to the user, and listening for user interaction. They will include styling rules, and are fed their data via props.
Our presentation component will include:
- An image, which displays a nice picture of a boat.
- A button, which when pressed, will call a callback supplied by the container (which will eventually fetch a new picture).
The code for our presentation component is below. Paste it into a new file located at src/components/ImageViewer.tsx:
import React from 'react';
import {
  ActivityIndicator,
  Image,
  StyleSheet,
  Text,
  TouchableHighlight,
  View,
} from 'react-native';

// Assign some colours as local variables
const buttonColor = '#1a5091';
const buttonActiveColor = '#13407e';
const white = '#fff';

// Define our props structure using a TypeScript interface.
interface IProps {
  loading: boolean;
  url: string;
  onFetchRequest: () => void;
}

// Our component is a stateless functional component,
// as it doesn't need to use state or lifecycle methods.
const ImageViewer = ({ url, loading, onFetchRequest }: IProps) => (
  <View style={styles.container}>
    {/* The URL for the image is passed in by the container. */}
    <Image style={styles.image} source={{ uri: url }} />

    {/* A TouchableHighlight is used as this is a 'call to action' button. */}
    <TouchableHighlight
      style={styles.button}
      onPress={onFetchRequest}
      activeOpacity={1}
      underlayColor={buttonActiveColor}
      disabled={loading}
    >
      {/* Display a loading indicator if the image is still loading. */}
      {loading ? (
        <ActivityIndicator size="small" color={white} />
      ) : (
        <Text style={styles.buttonLabel}>Again!</Text>
      )}
    </TouchableHighlight>
  </View>
);

// Define the styles for the component.
const styles = StyleSheet.create({
  container: {
    flex: 1,
  },
  image: {
    flex: 1,
    resizeMode: 'cover',
  },
  button: {
    position: 'absolute',
    bottom: 20,
    left: 20,
    right: 20,
    height: 50,
    justifyContent: 'center',
    alignItems: 'center',
    backgroundColor: buttonColor,
    borderRadius: 4,
  },
  buttonLabel: {
    fontSize: 18,
    color: white,
  },
});

export default ImageViewer;
Container
A presentation component is fed its information via props - it has no knowledge of where the data comes from. This responsibility is delegated to a container component. This type of component will also respond to user interaction (e.g. touch events) via callback props that are passed in to presentation components.
Our app will include a single container component, which is responsible for:
- Fetching a random image and sending it into the presentation component via a prop.
- Supplying a callback to the presentation component, which when called, will fetch a new image.
The container is therefore responsible for rendering the presentation component. The code for our container is below, paste it into a new file located at src/screens/ImageScreen.tsx:
import React, { Component } from 'react';
import { Image } from 'react-native';

import ImageViewer from '../components/ImageViewer';
import { getRandomImageUrl } from '../services/imageService';

// Create a TypeScript interface which describes the React state.
// This is sent in to the component as the second generic argument.
interface IState {
  loading: boolean;
  imageUrl: string | null;
}

class ImageScreen extends Component<{}, IState> {
  // Assign the initial state.
  public state = {
    loading: false,
    imageUrl: null,
  };

  constructor(props: {}) {
    super(props);
    // Bind the `fetchNewImage` method so that the value of `this` always points to the correct thing.
    // We can't use the class property arrow syntax as it is an `async` method.
    this.fetchNewImage = this.fetchNewImage.bind(this);
  }

  // When the app first loads, fetch an image.
  public componentDidMount() {
    this.fetchNewImage();
  }

  public render() {
    const { imageUrl, loading } = this.state;
    if (!imageUrl) {
      // First load: image is not set. Don't render anything.
      return null;
    }
    // Render the presentation component with the relevant data.
    return (
      <ImageViewer
        loading={loading}
        url={imageUrl}
        onFetchRequest={this.fetchNewImage}
      />
    );
  }

  private async fetchNewImage() {
    // Mark the app status as 'loading'.
    this.setState({
      loading: true,
    });

    // Use the service to get an image URL, then prefetch the image.
    // This is an asynchronous action, so we `await` until this is finished.
    const url = getRandomImageUrl(this.state.imageUrl);
    await Image.prefetch(url);

    // Prefetching complete: set the imageUrl in the state.
    // This queues a new render, which re-renders the presentation component with the new image URL.
    this.setState({
      loading: false,
      imageUrl: url,
    });
  }
}

export default ImageScreen;
Service
The next piece of code we need to include is a service, which will produce a random image URL to be used by the app. Services are files which do not include any TSX, they are written as regular TypeScript.
Create the file src/services/imageService.ts and paste the following contents:
// A static list of image IDs which point to boat images on unsplash.com
const imageIds: string[] = [
  '1537801568098-ba6c40d0a1a2',
  '1532680552323-28232070e5f9',
  '1526335727645-74a18e4ffb2f',
  '1532928448850-d740ccdd9f9c',
  '1502484620858-cd078a22fa7c',
  '1494493648617-3edda2de6c0f',
  '1520319553239-ec48795d5e49',
  '1511098515712-a269190819a7',
  '1539185011188-6ca25a42d9aa',
  '1519982829456-56d6b5582309',
  '1508164624366-96fce04cf1f1',
  '1537620189496-eea8094eef73',
  '1534578037805-4d6c5560cfbd',
  '1521134823423-28bfa5a2475a',
  '1502118639732-ed2f97e768db',
  '1517019845824-ee2053e3b4f6',
  '1508170404617-e7e4915ffebc',
  '1516423679984-e621aa471732',
  '1512788616552-0bdc65c1a8e3',
  '1487901155524-307f976ad775',
];

// Produce an unsplash URL from the passed ID
function buildUrlFromId(id: string): string {
  return `https://images.unsplash.com/photo-${id}?ixlib=rb-0.3.5&q=80&fm=jpg&crop=entropy&cs=tinysrgb&fit=crop&w=1350&h=2400`;
}

// Generate a random image URL, ensuring it isn't the same as the passed `lastUrl`.
export function getRandomImageUrl(lastUrl: string | null): string {
  let newUrl: string | null = null;

  do {
    const randomIndex = Math.floor(Math.random() * imageIds.length);
    const randomId = imageIds[randomIndex];
    newUrl = buildUrlFromId(randomId);
  } while (newUrl === lastUrl);

  return newUrl;
}
Entrypoint
Lastly, we need to update the entrypoint of the app to render the new ImageScreen container component.
Change App.tsx to the following:
import React from 'react';
import ImageScreen from './screens/ImageScreen';

const App = () => <ImageScreen />;

export default App;
Running the code
In a terminal, browse to the project root and run npm start.
In a separate terminal, browse to the project root and run:
react-native run-ios(for the iOS simulator), orreact-native run-android(to run on an Android device).
Once the app has loaded, you should be greeted with something resembling the following screen:
 Boaty app. You might see a different image!
Summary
We’ve implemented the Boaty app with two components and a service, using the React Native APIs to render our UI components, and TypeScript to author the code.
The code for this section can be found on the accompanying GitHub repo, make sure to check out the changes to the code from part 2.
If you’d like to learn more about building an app with TypeScript and/or React Native, I run in-person or remote workshops which walk through the fundamentals of building apps with these cutting-edge tools. If you are interested in learning more, let me know and I’d be happy to chat further!