Boaty: Generating an app icon
Note: this is part 5 of a series of posts, aimed at building a React Native app from the ground up. If you haven’t already done so, it’s worth starting from the beginning of the series.
In part 4, we finished the development of our app, adding some polish to the UI. It’s time to turn our attention to delivering the app to our users, beginning with the app icon.
Icon design
Mobile apps are launched from the device’s home screen (iOS) or launcher (Android). Both platforms display a list of apps, each represented with an app icon and a title.
React Native automatically assigns the app title according to the name that we used when scaffolding the project, but we must create the app icon ourselves.
The first step is to generate a png file which contains the app icon. We are going to create two versions:
- An iOS version with a full colour background
- An Android version with a transparent background
I’ve decided to use the boat Material Design icon, which will be displayed on our blue background. Designing and creating the icon asset is out of the scope of this post, but when creating your icon ensure you produce two variants as described above, and make them 1024px square.
To follow along with this post, download the iOS and Android icons, and place them in the project root.
iOS icon
iOS uses many different icon sizes for the various different devices. You can find a reference of every app icon size at the Apple Human Interface Guidelines. Once the icon sizes have been produced, they need to be imported to Xcode as an asset catalog.
Creating each icon size manually is tedious and error prone, but thankfully there is an open source project which takes care of all of this: app-icon. We are going to use it to generate our iOS icons.
To run the icon generator, we are going to use npx to download and run the necessary script files as follows:
- Make sure you have downloaded the iOS icon and placed it in the project root. Ensure it is called
icon.png. - The generator uses imagemagick to perform the image resizing. If you don’t have imagemagick installed, head on over to the download page to grab it.
Note: if you have homebrew, installing imagemagick is as simple as running
brew install imagemagick.
- Open a terminal at the project root and run the following command:
npx app-icon generateThe script will resize the icons to the necessary sizes and import them into the Xcode AppIcon asset catalog automatically.
To see the icon in action, you’ll need to re-compile your app. From the terminal run
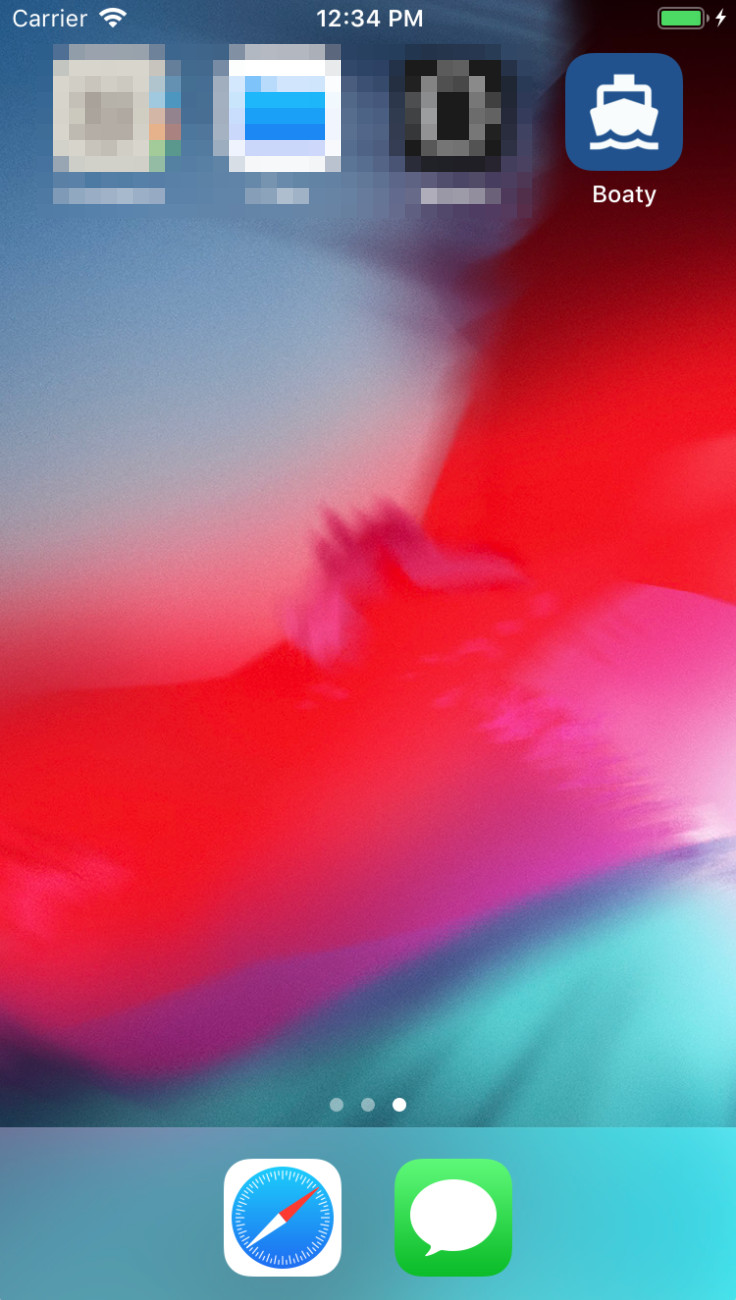
react-native run-iosYour app will load in the simulator. With the simulator in focus, press Cmd-Shift-h - this should minimise the app and present the iOS home screen, with your app icon in all its glory!
Note: iOS icon assets should be square, and do not support transparency. iOS automatically adds the rounded corners.
Android icons
Android icons are split into two distinct sections:
- Adaptive icons: supported on Android 8.0 and above, this allows the icon to be rendered differently depending on the device.
- Legacy icons: traditional Android icons, which render the same on every device.
The app-icon module has also generated Android icons, but currently only supports legacy icons. To create adaptive icons, we need to use an alternative method.
We are going to use Android Studio to generate our app icons.
- Make sure you have downloaded the Android icon and placed it in the project root. Ensure it is called
icon-fg.png. - Open Android Studio. If an existing project is automatically opened, close it.
- From the menu, select ‘Import project’.
- Browse to the project root, and select the android/ folder. Click Open. Android Studio should import and open your project.
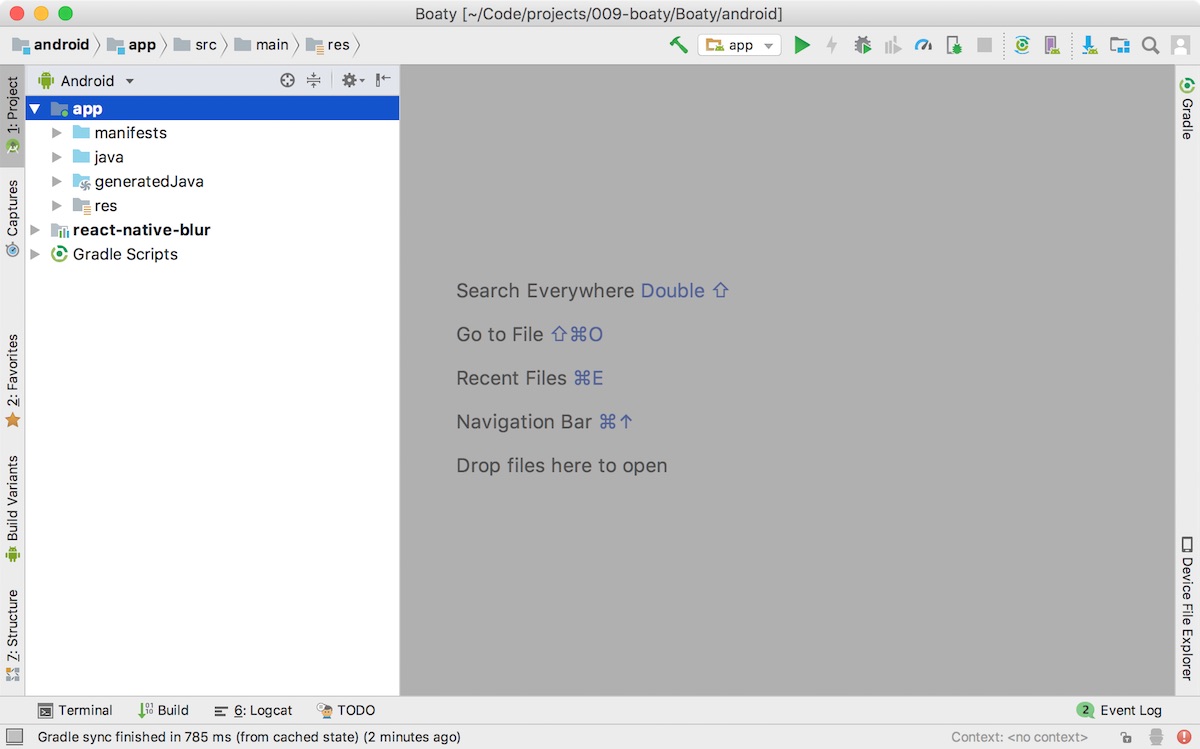
- Wait for Gradle to finish indexing the files. When it is done, you should see the following:
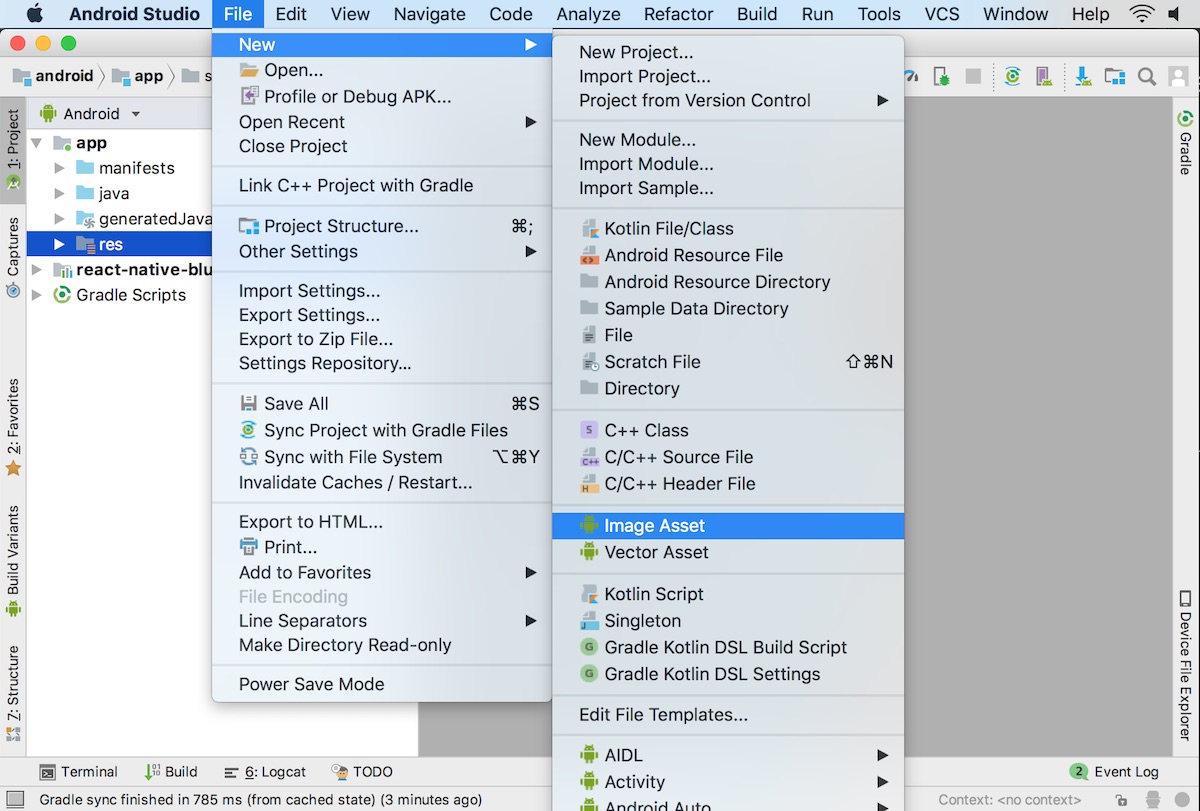
- In the left hand pane, expand the
appfolder and click on theresfolder to select it. - Go to File -> New -> Image Asset. This should open the Asset Studio window.
- Under the Source Asset section, click the button with the 3 dots next to the Path. Browse to the
icon-fg.pngimage, select it and click Open. - Select the Background Layer tab. Under Source Asset, click the Color radio button and use the colour
#1a5091. - Under the Scaling section, drag the Resize handle so that the icon appears inside the ‘safe zone’ for each icon preview.

- Click Next, and then Finish.
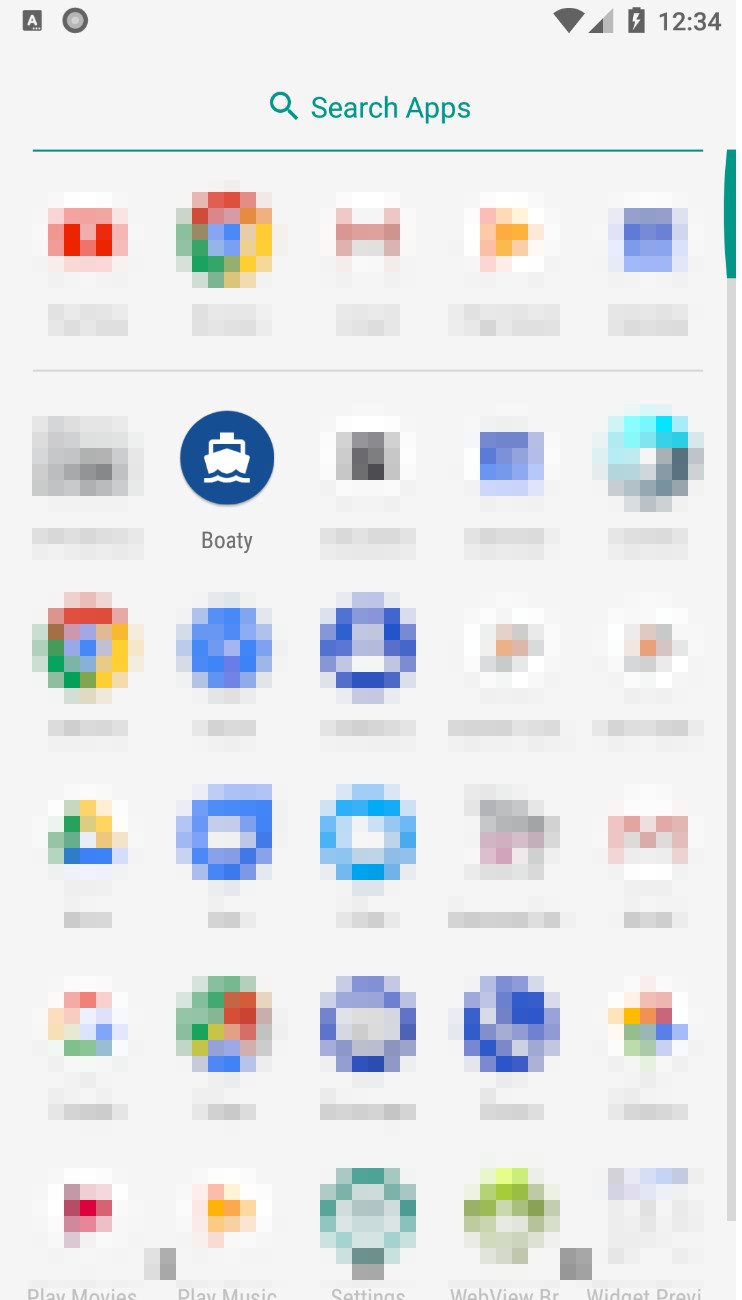
Android Studio will generate all of the necessary files to support both Adaptive and Legacy launcher icons. To check that the icons work correctly, from the terminal run
react-native run-androidWhen the app launches, press the Home soft key to return to the launcher, and see your Android icon in all its glory.
End Result
Summary
We’ve added app icons for the iOS and Android variants of our app, supporting the latest devices and versions (at the time of writing).
The code for this section can be found on the accompanying GitHub repo, make sure to check out the changes to the files from part 4.
If you’d like to learn more about building an app with TypeScript and/or React Native, I run in-person or remote workshops which walk through the fundamentals of building apps with these cutting-edge tools. If you are interested in learning more, let me know and I’d be happy to chat further!